Sunday, February 20, 2011

3rd week: Fruit Leather.

This week we will be experimenting with fruits to make a fruit leather. As usual, different group different task. 

The basic formula for making Fruit leather are:
2 cups variety of fruits (we used dragon fruit, kiwi, strawberry, peach, and apples)
25 gram sugar

*Note; Apple leather can be made using 5 apples, (peeled, cored, and pureed), 90 ml water, and 75 gram sugar.

For our group, we will be using green apples to make a fruit leather. 

Before the task:
Before the task, Chef Zaid gave us some briefing before we start the mise-en-place. Right after the briefing is finished. We start to prepare our ingredients.

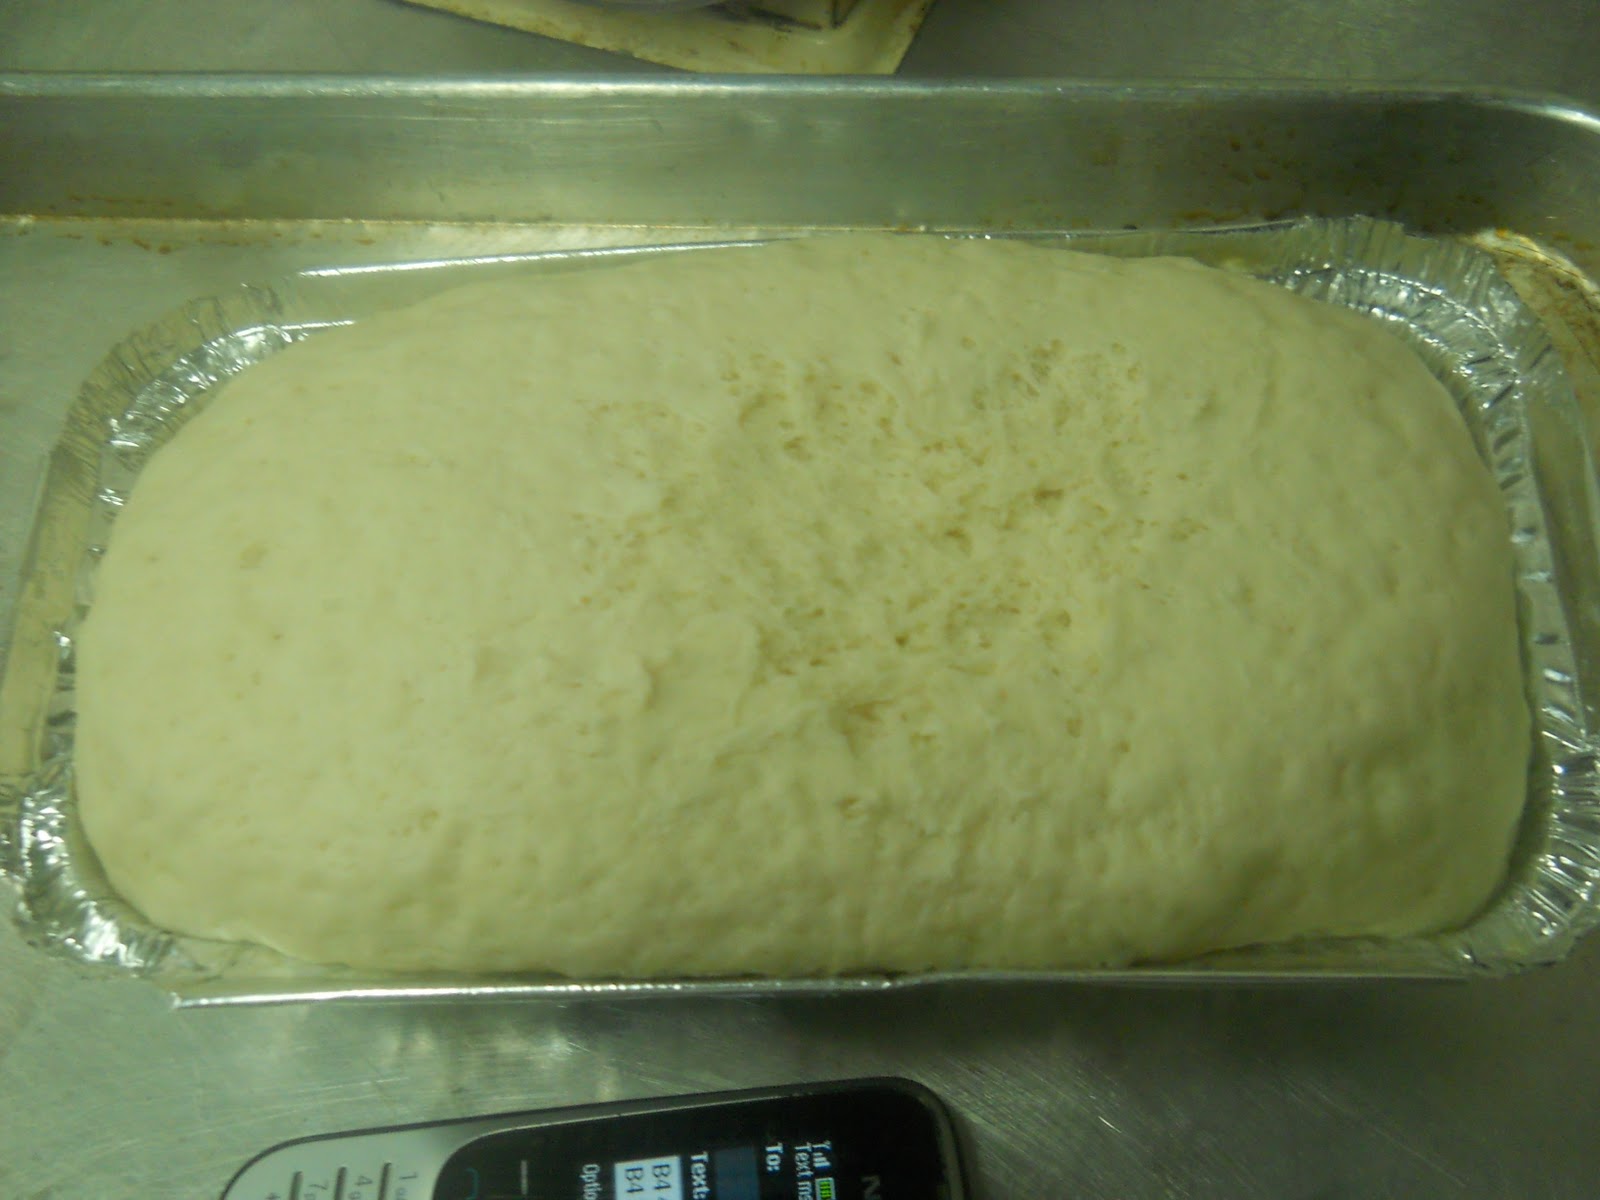
This are the ingredients.

During the task:
Right after the ingredients are ready. We started peeling and chopping the green apples.
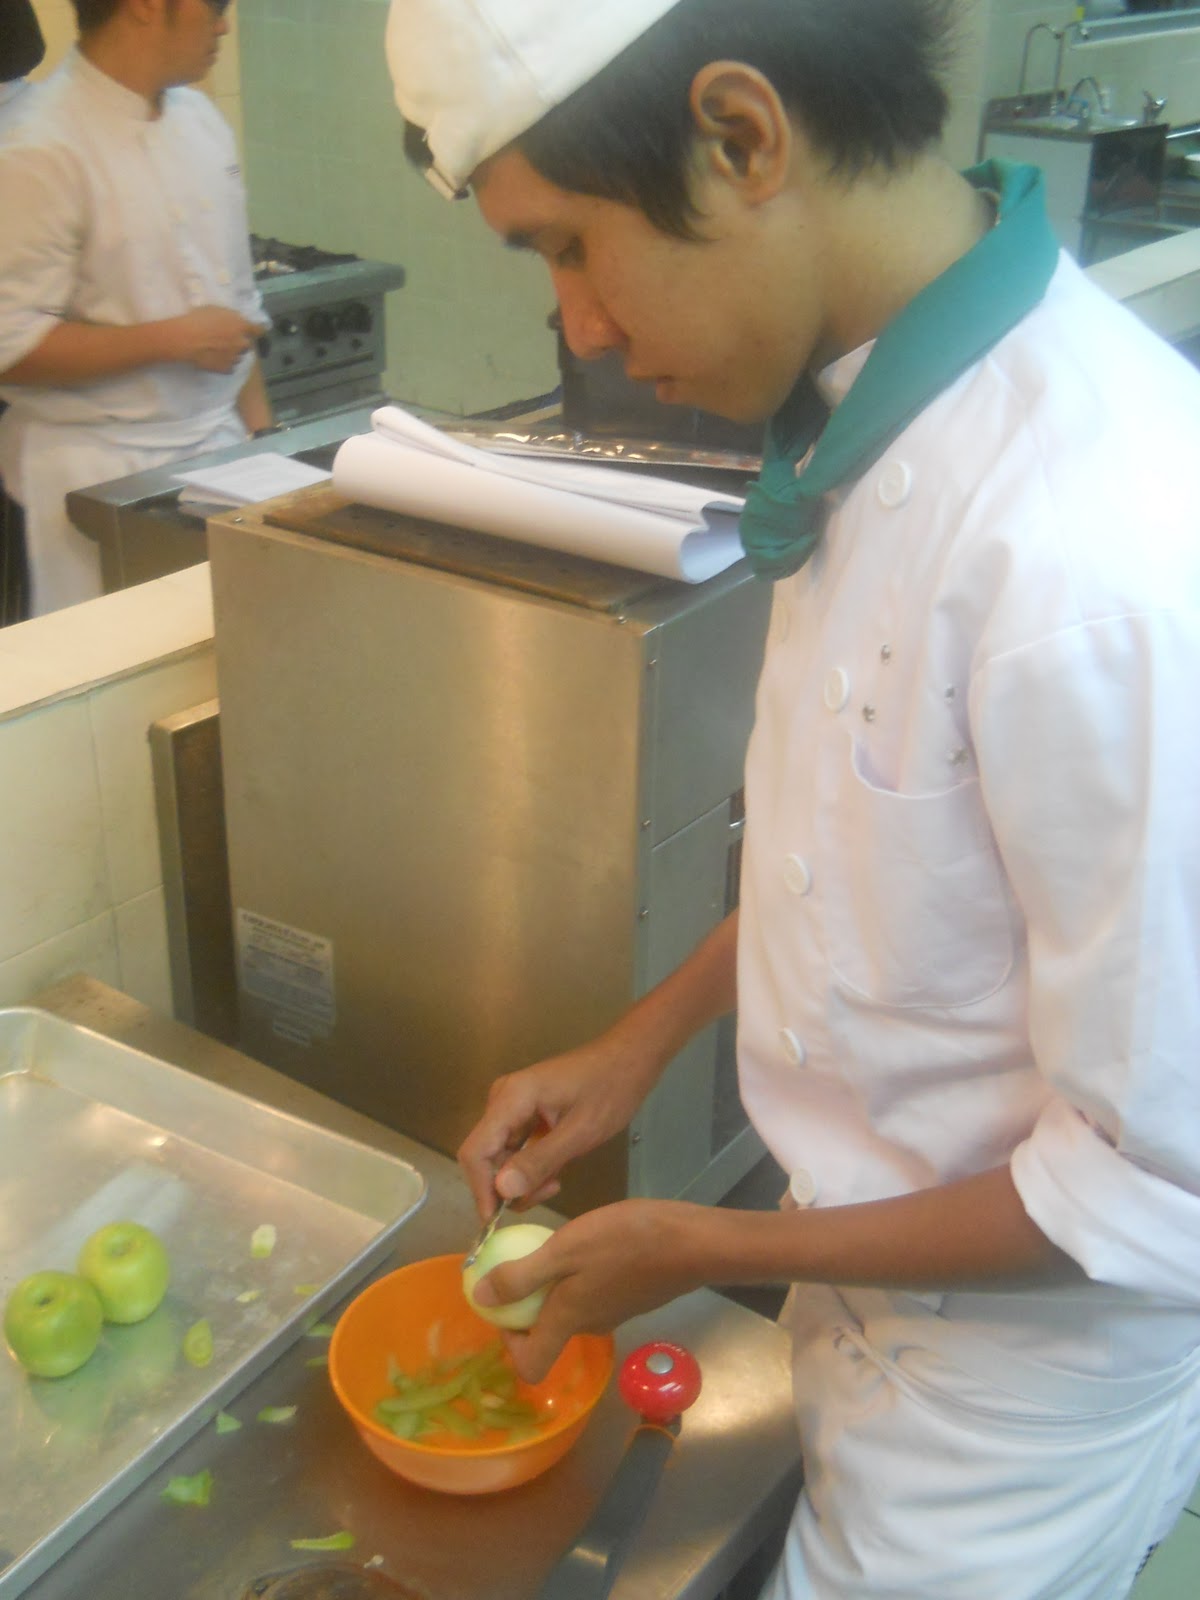
Peeling the apples.

Remove the core and chop roughly

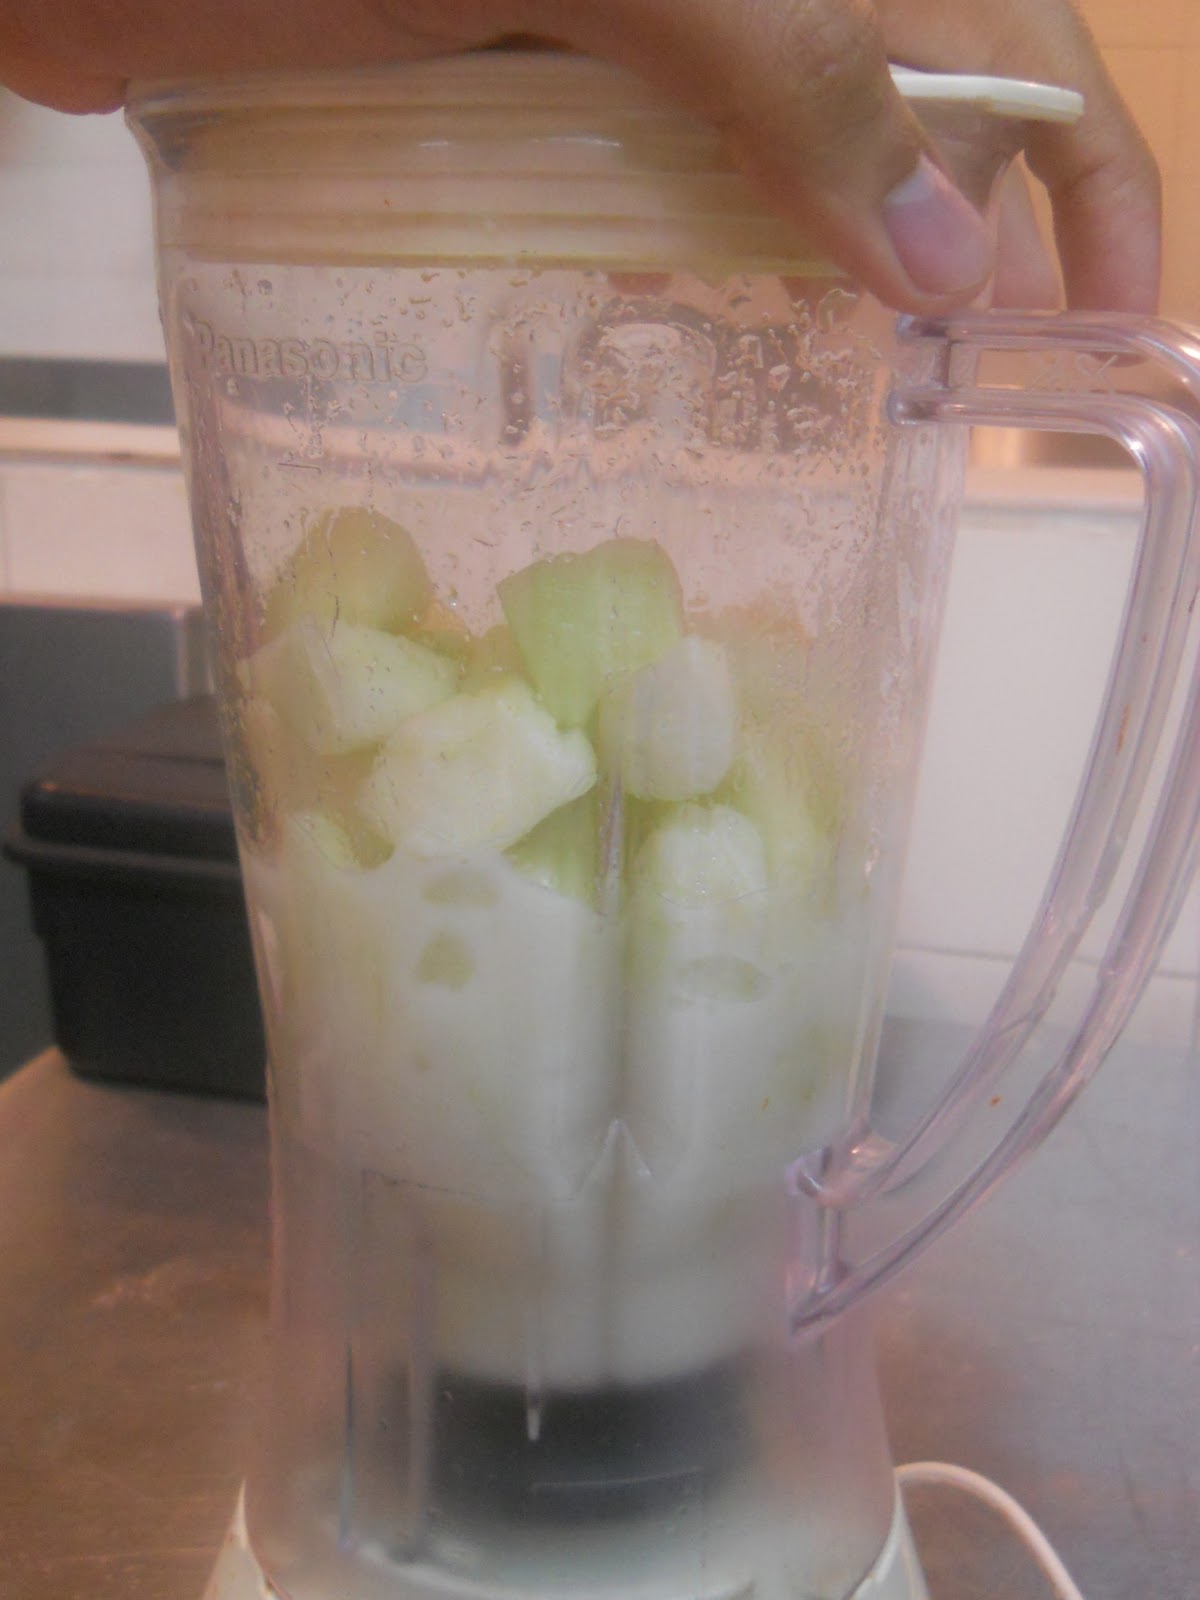
Put all the ingredients in a blender or a food processor and blend until it becomes a puree.

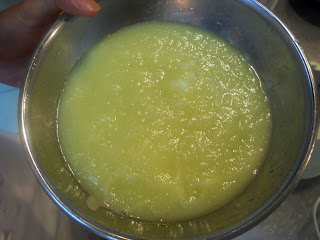
Pureed green apples.

*Right after we pureed it, we spread on a parchment paper that had been put on a tray.

Spread the puree evenly on a parchment paper


Put in the preheated oven (100 C) for approximately 2 hours

*For 2 hours of waiting. There's nothing much we can do. So we went out for a while.

After 2 hours. The fruit leather is 99.99% dried

Trying to pulling out the fruit leather. It is very delicate so we have to be very careful

Tada!! The fruit leather!

Close-up

After the task:
After all the fruit leather are dried. All of us tried to pull it off but some of it didn't succeed because the fruit leather is not totally dried.

Chef Zaid inspecting our fruit leather.

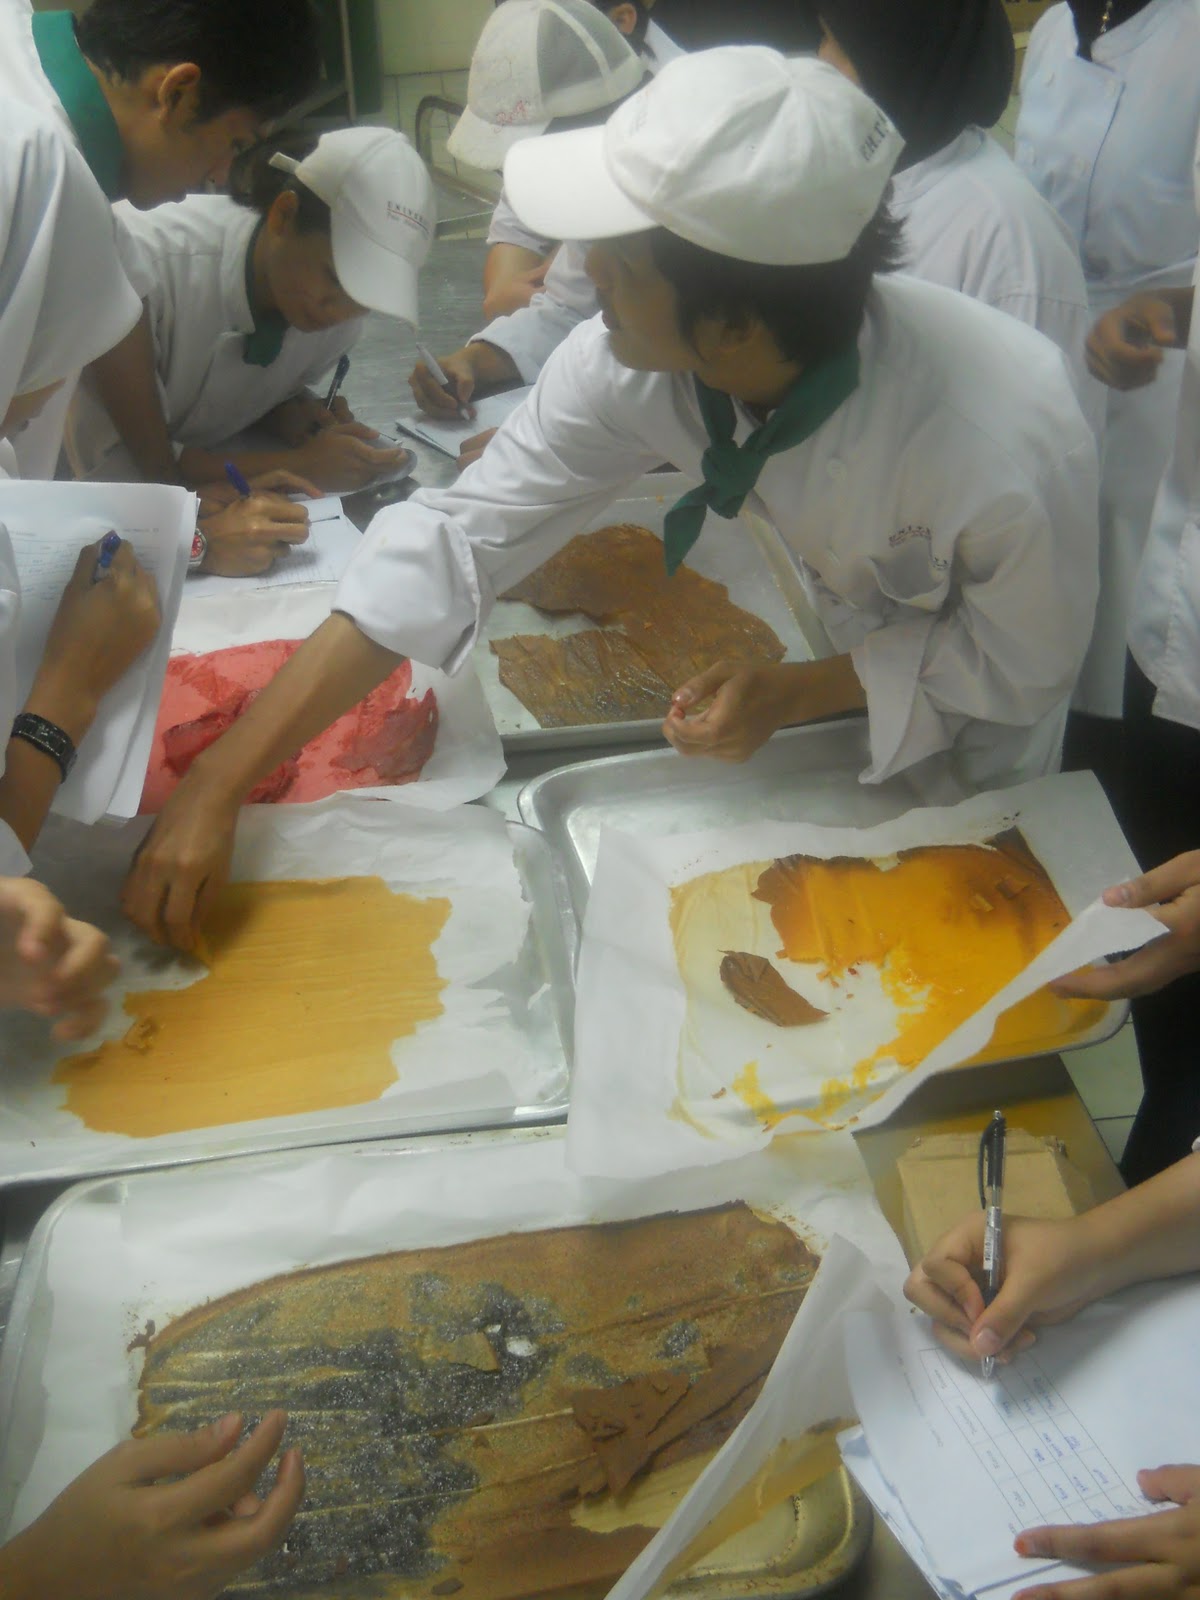
It's our turn to test our fruit leather.

Ali is testing all fruit leathers.

*Click image to enlarge

That's all from us. Thank you!

Up up and away!

Saturday, February 12, 2011

2nd week: Yeast Breads.

For the 2nd week for this class we had to another experiment. This week experiment is about bread and like last week, some of the groups were given a different task for making Breads.

The Objective of this experiment is too:
1. Explain the procedure for making yeast dough, outline the precautions that need ti be observed and assess the quality of yeast products.
2. Identify the practical use of various types of flour in yeast products.
3. Discuss the importance of kneading and control of water (or other liquid) to flour ratios in bread dough.

The basic formula for making Yeast Bread are:

7 gram dry yeast
118 ml room temperature water
4 gram shortening
6 gram sugar
3 gram salt
200 gram all purpose flour

For our group, we need to do an experiment with excess flour and using milk. This will show the effect of using different ingredient and excess flour on a bread.

Before the task:
We prepared the ingredients for both task.


During the task:
The first task is excess flour ; prepare the basic formula, but have a weighed amount of flour available during the kneading process. Work as much of this flour as possible into the dough during the kneading process. We applied 100 strokes of kneading for this task.

The ingredients

Put water, dry yeast, shortening and dissolve.

Slowly adding the flour until it form a dough.

Knead the dough 100 times.
Slowly add the excess flour and corporate it with the dough.

The finish dough

Put the dough in a mould and rest for 30 minutes.

After 30 minutes, punch the dough to remove air and shape the dough into loaf and put back in the mould.
Rest for another 30 minutes. 
*After 30 minutes, bake in the preheated oven for 15 minutes.

The finish product.

The second task is using Milk ; prepare the basic formula, using milk in place of the water. We also applied 100 strokes of kneading for this task.

The ingredients

*The procedure is the same with the 1st product. 

The finish dough after 100 times kneading.

Put the dough in a mould and rest for 30 minutes.

After 30 minutes, punch the dough to remove air and shape the dough into loaf and put back in the mould.
Rest for another 30 minutes. 
*After 30 minutes, bake in the preheated oven for 15 minutes.


The finish product

The result for both breads
Excess flour (top)
Milk (bottom)

After the task:

After all the bread are cooked. We did a test on the texture, color, tenderness, taste, the cells sizes, and volume. So this is the result table.

*Click image to enlarge*

Thank you!


Tuesday, February 1, 2011

1st week: Angel Cake

For the first week of class, we had to do an experiment on making Angel Cake in different conditions.
Some are given different strokes, some are given extra ingredients and some are given different volumes.

The Objective of this experiment is too:
1. To identify the best method for cooking an Angel Cake with optimum texture, volume, and tenderness,
2. Evaluate Angel Cakes according to accepted standards.
3. Explain the role of cream of tartar in an Angel Cake,
4. Explain the influence of baking conditions in determining quality of Angel Cake.

The basic formula for making Angel Cake are:


10 gram sugar
15 gram cake flour
41 gram egg whites
32 gram sugar
0.6 gram cream of tartar
0.1 gram/ a pinch salt

For our group, we had to do an experiment which is involving sugar in an Angel Cake. What we need to is to identify which is the best amount of sugar to make an Angel Cake. 

Before the task:
We need to prepare the ingredients for the angel cakes. All the ingredients are in the above picture. We also need to read the method and the procedure because each group were given a different task. After that, we started cooking.

During the task:
  1. The first one is Reduced sugar. We used the basic ingredients for the angel cake but we reduced the sugar from 10 gram to 8 gram only.

  2. The second one is Increased sugar. Same basic ingredients but we increased the sugar from 10 gram to     13 gram.

  3. The third one is Excess sugar. For this one we used 17 gram of sugar instead of 10 gram.

After all the ingredients are ready. We started preparing the cakes. 

After the task:
After all the cakes are cooked. We need to test the cakes by it's texture, volume, color, shape, and taste. 

Reduced sugar (left) Increased sugar (middle) Excess sugar (right)

The result table
*Click image to enlarge*

That's it from us. Thank you.